Now this all links in with one those "friends I've never actually met", who posted a pic of himself shooting a 110# one piece recurve and getting a new PB (321yards). I congratulated him, but thought he should be getting even more distance as it has a fibreglass back and belly. Anyway rather than criticise I offered to make him a flight arrow which will be of interest to both of us.
The bow's maker suggests 60 gram as a minimum for regular shooting but lighter is ok for occasional flight shooting.I hate grams so I'll convert to grains, that's 926 grains (8.4 gpp). The flight arrow he used was 53 grams (818 grain, 7.4 gpp) with a spine of 200# and a max diameter of 1/2"
I could see a few potential areas to gain some distance, but would it actually work?
My experience with flight arrows has led me to a few conclusions, none of which I can guarantee to be right, 'cos that's the beauty of flight archery!
1. The stiffest part of the arrow needs to be about 1/3 of the way from the nock, because it only really needs to flex hard round the bow once it's moved about 1/2 - 2/3 of it's length (assuming a bow that's not cut away at the arrow pass). Maximum sideways deflection being just before it leaves the string. The front of the arrow does very little except stop it falling off your hand and give you somewhere to fit the point, but needs to be strong enough to withstand the impact of landing and hitting the particular stone you are aiming at ;-)
2. Fletchings should be only just big enough to do the job. It's notoriously difficult to actually test for this even with recourse to a shooting machine and high speed photography. The fletchings should have their vanes sanded down to almost nothing and once glued on, should be sanded to blend in at the leading edge. I think any sort of binding is just an air brake!
3. The weight distribution is a contentious issue. Some will say the centre of mass (balance point) should be just behind centre. I have seen such arrows fly in an extremely erratic and dangerous manner, so I keep the balance point just slightly forward of the geometric centre.(about 2% front of centre)
http://archerycalculator.com/arrow-front-of-center-foc-calculator/
This also ties in to the previous point about fletching size.
4.The nock should also be tapered and blended to be as aerodynamic as possible. It will doubtless be reinforced with horn, but any extra binding should be as minimal and smooth as possible.
Possibly the most important part of any flight shot is that elusive clean loose, I've shot loads of arrows and they'd be grouped at a similar distance, except one which would be another 30 yards down range! Repeat the exercise, and next time that magic arrow will be in amongst the others!
Testing one bow which I'd modified, the results were disappointing, I was about to go, and thought... one last shot! You guessed it, 30 yards extra!
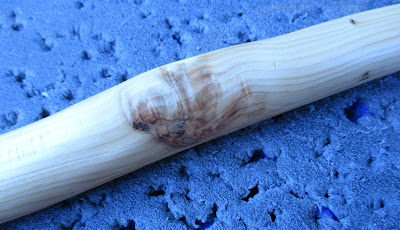
I've already started on an arrow, footing a length of 10mm diameter pine shaft that's about 90 spine.
I also searched out some particularly tight grain old pine that I'd sawn into arrow blanks. Now my lathe will only hold 10mm / 3/8" through the headstock so for ages I've been toying with the idea of a special arrow turning lathe. That's giving me another project to think about and tinker with while the glue of the footing is curing.
Arrow Lathe update:- The more I thought about it, the dafter it seemed! An arrow it too long to turn unsupported, so using the tools I already have gives me a maximum reasonable working length to turn.
I've just tried it! Especially with a pine shaft (even a tight grained stiff one). I have a movable toolrest for wood turning and it seems to work pretty well. It gives me about 9" between centres, but I could squeeze that out to 10" which is enough to do the rough tapering. It's certainly enough to do the nock end of the arrow. The arrow taper jig, or just using sandpaper while it is spinning, hanging out the back end of the lathe will finish the job.
It's one of those slow jobs that is easily ruined by trying to save time!
Note to self:- Further experiment, I reckon I can get a more controlled taper using it in a normal metal cutting configuration, just carefully feeding in the cross slide ever so slightly as I wind the cutter along the length of the shaft (about 2 thou on the cross slide for every 2 turns on the leadscrew )... that and the taper jig gives a nice controllable taper... better than ruining a shaft.


